-
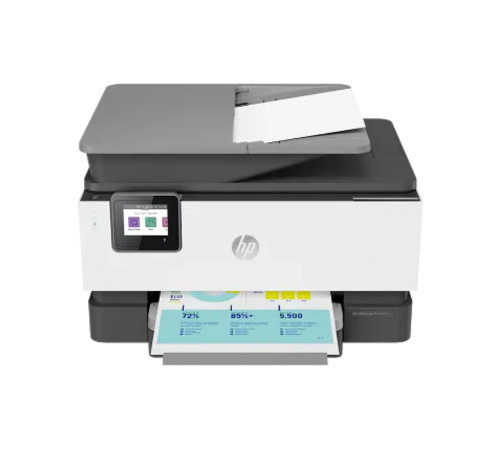
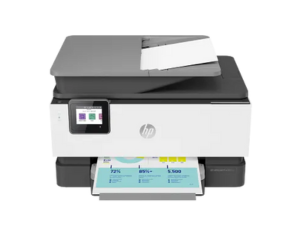
Printers
HP OfficeJet Pro 9125e Wireless All-in-One Color Inkjet Printer, Print, scan, copy, fax
Original price was: $219.99.$209.99Current price is: $209.99. -
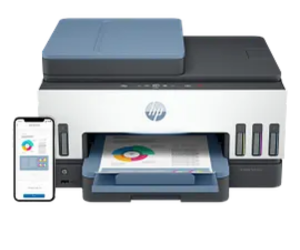
Printers
HP Smart Tank 5101 Wireless All-in-One Ink Tank Printer, Scanner, Copier
Original price was: $259.99.$179.99Current price is: $179.99. -
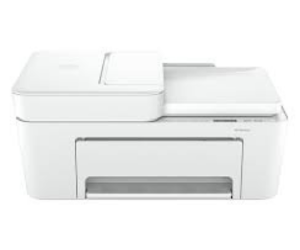
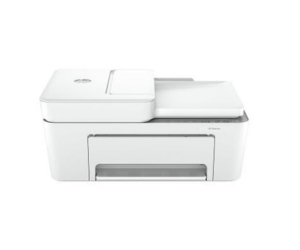
Printers
HP DeskJet 4255e Wireless All-in-One Color Inkjet Printer, Scanner, Copier
Original price was: $109.99.$79.99Current price is: $79.99. -
Printers
HP Envy 6155e Wireless All-in-One Color Inkjet Printer, Print, scan, copy
Original price was: $109.99.$99.99Current price is: $99.99. -
Printers
HP DeskJet 4227e Wireless All-in-One Color Inkjet Printer, Scanner, Copier, Best-for-Home
Original price was: $99.99.$59.99Current price is: $59.99. -
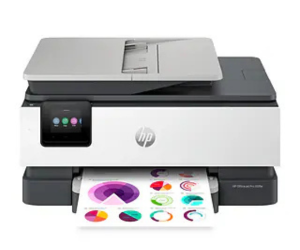
Printers
HP OfficeJet Pro 8125e Wireless All-in-One Color Inkjet Printer, Print, scan, Copy
Original price was: $139.99.$109.99Current price is: $109.99.